Showing posts with label beaded tatting. Show all posts

Sunday, February 26, 2017

Another UFO Completed


 #3 in 25 Motif Challenge of 2017

This lovely seahorse is testimony that you can make lots of mistakes in a pattern and still have a nice outcome. Do follow the link to view Jane's wonderful pattern as it should have been tatted. Rings and beads are missing from mine, but I really enjoyed completing it. 

Saturday, May 7, 2016

My 1st Morfo in Natural Light

Artificial light seems to rarely do justice to color, so I wanted to get at least one nice picture of Morfo in daylight. The colors are much truer in this picture.
The beads in the center of each wing, beneath the tatting, are clear iridescent beads. I love the way they pick up the color of nearby objects.

Someone asked me about bead sizes. I keep a collection of interesting beads, many of them were once part of necklaces. In fact, I used four different necklaces for seven different sizes of beads for this butterfly. I also used seed beads from a bag of inexpensive glass seed beads of mixed colors that I once picked up at Hobby Lobby. I've used the blue, purple, and pink ones from that assortment. The largest bead is the one in the body of the butterfly. It is 1.5 cm in length. I sewed it in vertically rather than horizontally as it is oblong. If you make the butterfly following Angela's instructions exactly, you will not use as many different sizes and colors of beads.

Friday, May 6, 2016

My 1st Morfo Butterfly is Complete

It's done and I love it! I admit it was a challenge. I was determined to use some lovely beads I had on hand, and I had to go digging several times for the 'right' beads to go with them, but it was worth the effort. Angela Gambka has designed a wonderful pattern that is so versatile. I used her videos without sound to see how she handled bead placement in the original. There were a few times that I cut the sewn in beads out and started over because I wanted to try something a little different. I'm very happy with the result.
Note: The lighting is still artificial, but I just couldn't wait till daylight to show you how it turned out.
Motif #18 for the 25 Motif Challenge
Flora size 20 in color #227 with assorted beads
4 cm across widest part of wing span; 4.5 cm from tips of antennae to lower wing tips

Marie, I understand your fascination with these butterflies now. I'm looking forward to starting another one. In fact, I plan to clean away everything and then go digging for the beads for the next one. I'm thinking red, black, and gold this time.

Kathy, you asked me earlier about the bead placement that looks like two rows of beads in 4 of those rings on the front of the butterfly. You load all of those beads onto your shuttle with those for the outer row coming off the shuttle before those on the inner row. When you wrap to start the ring, you need all of those for the outer row within the circle. When you slide one of those beads into place at a picot, you slide one from the shuttle into place beneath it on the core thread. It's the same method that forms the 4 beaded tips to the wings. The dark bead is on the core thread and the lighter ones are enclosed in the picot.

Side 1 of Morfo is Beaded

I'm sharing my progress as I go in hopes that it will encourage some of you as you begin. It's challenging to do this the first time, and I've probably made it more so because I already had some beads I really wanted to use that aren't the suggested sizes. I haven't taken the time to manipulate all of the rings back into shape before posting, but here it is from the top and the side, but still with artificial light.

Wednesday, May 4, 2016

Front of Morfo Butterfly

The front side of the butterfly is tatted. As you can see, some of the beads are tatted in. I've used pink and dark purple beads so far with this size 20 Flora color #227 (a soft shade of blue). Next will be the addition of more beads with needle and thread.

Tuesday, May 3, 2016

Progress

It's been a busy week so far with very little time to tat. I managed a couple of repeats in the final round of the doily tonight. I also spent some time selecting the beads for the butterfly. Those that will be tatted in are loaded on the shuttle.

Monday, April 25, 2016

Playing with Ninetta's Curled Rings

Oh no, the Online Tatting Class is about to cover Ninetta's alternate methods of curling rings, and I hadn't learned to make the original ones yet! So I struggled to find some empty shuttles. Where are the dozens of shuttles I've bought over the years? I certainly don't have enough tied up in UFOs to account for all of them. I think there may be something to Madtatter80's talk of tatting pixies. They snatch shuttles, too. (See the comments under Fox's post here.)

I found some empty Aero bobbins, so I 'borrowed' the shuttle from my 2014 Renulek Doily (the WIP Wednesday project). I had recently emptied a shuttle after the last snowflake, so I was ready to begin. I read the class material for the upcoming lesson and started Ninetta's Little Pendant with Curled Rings. Only one of my three efforts was consigned to the trash. However, I'm not sure I can boast much since it was my third effort. Aren't we supposed to get better with practice? The one on the right was my first effort. The one of the left was second. Sensing it must be time for a tatting break, I decided to blog about my efforts and play again some other time.
Motifs #16 and #17 for 25 Motif Challenge
Both: Variegated Manuela Size 20 (shades of blue and green with a little white and pink--# unknown)
Left: Lizbeth Size 20 Color #628 Medium Salmon
Right: Cecelia Size 20 Color #818 Baby Pink
Beads - soft pink

I had fun. In fact, it occurred to me that it would be cute to attach three of these side by side for a larger necklace pendant. I'd like to give that a try when I play with it again.

Monday, March 28, 2016

Motif 8 for 25 Motif Challenge

It always feels good to finish a project, and especially so this time as it was such a challenge. I attempted to use some tips from Nina Libin's Beanile tatting to create the jewels for the top center of the crown. It isn't perfect, but I'm very happy with my first effort at this type of use of beads in tatting. I used Gale Marshall's pattern for the Queen Mom Memorial Crown and substituted lots of different beads and made the changes necessary to make them work. So that's motif #8 for the 25 Motif Challenge.
Lastly, I had to revisit the eyes of my brown-eyed sock doll. I brought her eyes closer together, and I think she looks better. 

Thursday, March 24, 2016

Almost done!

With the crown, that is. It is really coming together nicely. Just one more section to go.
And I managed to get a few more inches done on round 1 of the Benporath Mystery Cake Doyley.

Wednesday, March 23, 2016

More Time Than Usual to Tat

A drive to Memphis with my daughter for a day at the Memphis Zoo yesterday meant that I had more tatting time than usual. I worked on the Norma Benporath Mystery Cake Doyley during the drive, then loaded beads and tatted another section on the modified Gale Marshall Queen Mom Memorial Crown when I got home. The zoo was wonderful in spite of the wind. It was a fantastic day.


Tuesday, March 22, 2016

Progress on the Crown

I made some progress last night, completing the next section. I'm having some problems getting it to curve as I wish, but I'll just have to see how it does after I add the center piece. I haven't attempted to block anything yet.
The teardrop-shaped beads in this upper section are actually a very soft pink, though they look rather brown in this photo with the black background. This is an adaptation of Gale Marshall's Queen Mom Memorial Crown.

Monday, March 14, 2016

Crown Progress & Element-al documents updated

The only image I have available to show you today is one of a work in progress. It's Gale Marshall's Queen Mom Memorial Crown. I wanted to do quite a bit of bead substitution, so I decided to tat the crown in parts. It made figuring out the bead placement on shuttle and ball threads a little simpler. This is all I've completed so far on the lower part of the crown. I'm using DMC Cecelia size 30. I had a special request for this crown and I've got 2 weeks to finish it. It isn't the kind of thing I can work on with the baby around, so I'll be working on other projects at the same time.

I finished the tatting of the December 1snowflake (see previous post), but it isn't ready for a photograph.

I've updated the links to the 2 Element-al documents. Be sure to email me or post here at the blog if you have any recommendations for additions or changes to these. You'll find the links on the Techniques page of this blog.

Thursday, March 10, 2016

4 motifs to start the 25 Motif Challenge

I seem to be in the mood for challenges lately. I've been battling severe asthma for over a month and now have bronchitis. Sitting and tatting is one of the few things I really feel like doing. It is restful and productive at the same time--a wonderful combination.

Sharon's 25 Motif Challenge is one of my favorite blogs to follow. It helps me find the blogs and webpages of other tatters. Of course, I want to follow all of you! It has been years since I participated  in the challenge myself, but this seemed like a great year to jump back in.


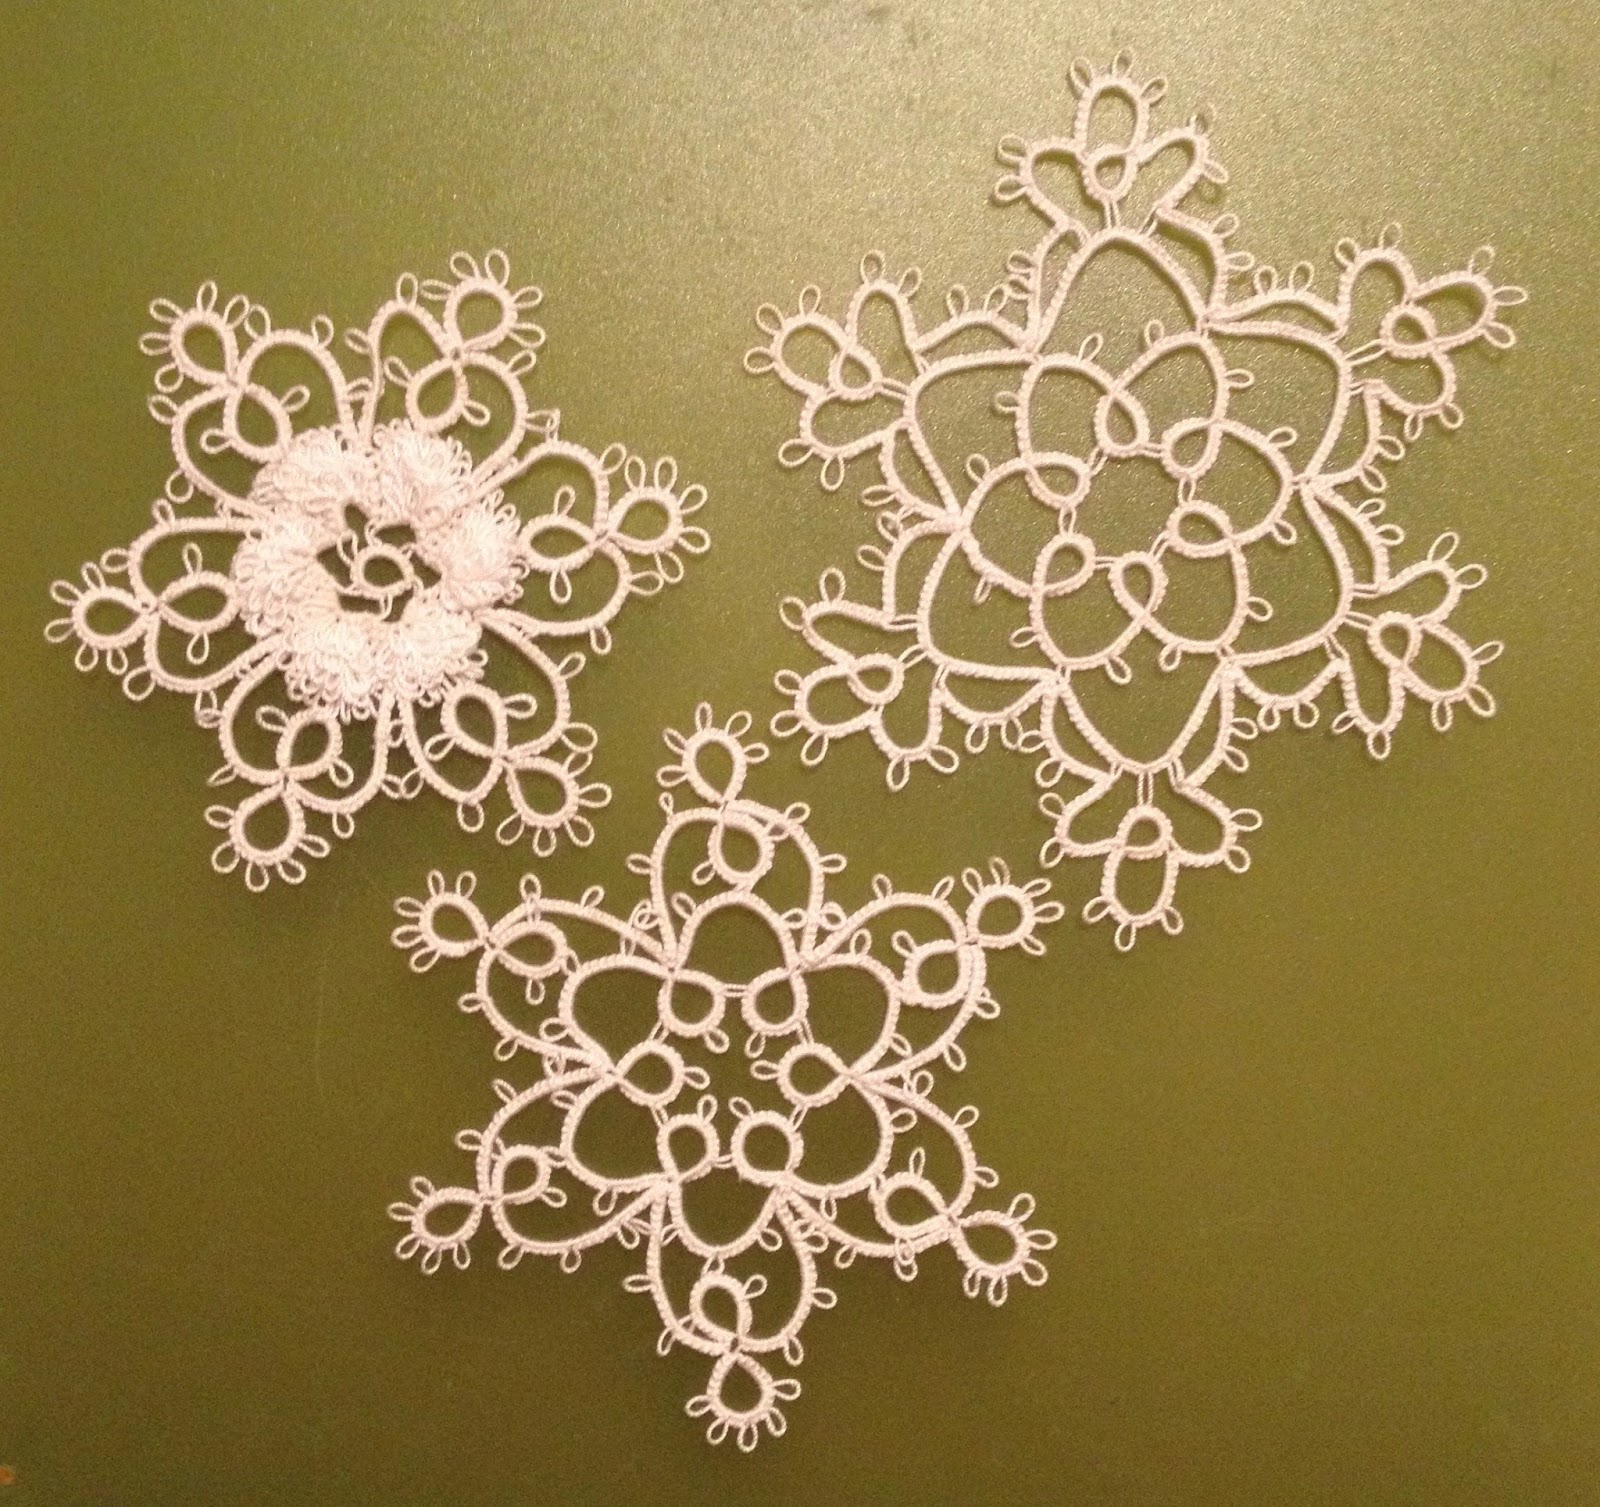
My first 3 motifs for the 25 Motif Challenge are also my first 3 motifs in the Craftree challenge to tat all of the snowflakes in Lene Bjorn's 24 Snowflakes in Tatting this year. I'm using white DMC Cecelia size 30. These are December 3, 4, and 5. Since the challenge started at the first of the year, most of the participants are working on December 5 or December 6. I decided to start with the #5 snowflake as that is the one I'd have been working on in the first half of March if I was on target. Then I started working backward to catch up as I have time. I'll get December 1 and 2 done as I get time, but I'll keep moving forward through the rest of the book on schedule. At least, that's the plan.

Lastly, I want to share another Ice Cream Cone as an example of working a mistake into the design. When I went to join the third ring of the outer round to the center square, I joined to the wrong picot. Rather than take out that ring, I just increased the number of rings and chains and made sure the 2nd side mirrored the first. Most likely only another tatter would notice that it differs from the original design. The pink thread is a Manuela size 20 I had on hand and the cone is more of the Altin Basak size 50.


Tuesday, March 8, 2016

5 Tatted Ice Cream Cones


This is a pattern that I enjoy tatting. I load the ice cream thread with 14 to 16 beads for the square, placing 8 of those on the shuttle. I load 16 to 20 for the outer round with 8 of those again on the shuttle. I then place them randomly as I tat. I used size 20 thread for the ice cream--DMC Cecelia white and brown, Manuela pink. The cones were tatted with some Altin Basak size 50 that I had on hand. In spite of the size 50 on the label, I find this thread to be somewhere between DMC Cecelia size 20 and 30 in size.

Friday, May 3, 2013

Earring Jackets

I've finished two pairs of earring jackets and started another. The photos really don't do justice to the colors of the threads or the beads. The peach and royal blue pairs were inspired by Jennifer Williams' Two-Layered Flower. I used one of my favorite earring patterns and added that second layer using Jennifer's technique.
The one lone variegated earring jacket you see is made from Rachel Colvin Jackson's Simple Celtic Earrings. I left off the picot for attaching a wire and will wear them as earring jackets for post earrings. This one required I get out my tatting needles and refresh my rusty skills. I found it was rather like riding a bicycle. The movements came back to me very quickly. As I write this, I've only completed one piece. I look forward to playing with this one a bit more. 

My thanks to both Jennifer and Rachel. I've enjoyed playing with your techniques and see many possibilities for them.

Sunday, April 28, 2013

New Earrings

I've been distracted from shuttle-tatted interlocking rings and cross patterns by the need for some new earrings. I looked through some of the patterns I've saved from other websites and blogs and found great inspiration. The pair pictured below are based on the Poinsettia Earrings designed by Rachel Colvin Jackson. I confess to taking a few liberties with Rachel's lovely pattern. I didn't want to sew in beads afterward so I made long beaded picots and I substituted double stitches for the half stitches Rachel uses in the outer round. I'm very happy with the result. Thank you, Rachel for sharing this pattern with us.

Thursday, November 24, 2011

Have you missed me?

I have certainly missed all of you. I've been busy settling into the job I accepted in September and loving every minute of it. Of course, that has meant less time for tatting and keeping up with all of you. Most of my sales have been outside Etsy. I've listed the items I've restocked. Since I have less time available now, I'm listing after I tat them up.

The new tatting design online class is wonderful! It was just what I needed to help me make some progress with EazyDraw and it has sparked my creativity as well. This past Tuesday evening was my first time to get to join the fun, but I read the logs from the first two sessions and started the homework. My latest update of EazyDraw came with a few tutorials which are also proving helpful.

Reading your tatting blogs is also an inspiration to me. I'm sorry there are no pictures in my blog today other than the Etsy listings. It is almost time for the big family get-together!

Friday, September 9, 2011

More bracelets

I've been busy producing more "Sarah's Sparkling Glamour" earring jackets and "Wanda" bracelets to fill orders. I am having such a great time with these bracelets, playing with a variety of colors of thread and beads. The bracelet pictures have been posted with the listing on Etsy, but I'll put them here as well. I hope you enjoy them. I got to choose from my collection of buttons for the two in the lower picture.

I started a new job last week, too. I'm helping college students prepare for the job market and recruiting non-profit organizations to partner with the university to provide internships for our students--a great benefit to both the organization and the students. I love what I'm doing. I feel so blessed. I have a people intense job that is very rewarding and a work-by-yourself business that seems to revitalize me in ways it is hard to explain to someone who does not have that desire to create.

I may not get to post more than once or twice a week, but know that I'm thinking of all of you and eager to come back and see what you have been doing.

Tuesday, August 30, 2011

Custom Tatting

I'm working on a few orders this week - all bracelets at the moment. The first of these are some Sport Your Colors Bracelets for a small wrist. All of her favorite colors will be paired with black which is the staple in her wardrobe. Nice idea! Red and black is finished. Now to get the others done.

Sunday, August 28, 2011

Another bracelet - Wanda

I finished the design, the test-tatting and got my first one ready for delivery. The customer loves it--says it is just what she had in mind, which is always great to hear. I already have orders for two more which is also nice. The thread in the one pictured here is Lizbeth Harvest Orange Medium and the beads are in shades of brown.